
Canning was originally invented in 1809 by Frenchman Nicolas Appert to preserve food for the military.
The process involves putting food into a clean, sealed jar. The jar is then heated. The heat kills microorganisms and enzymes, which would cause the food to spoil.
The heat also forces air out of the jar. As the jar contents cool, the lid gets sucked down to make a vacuum seal. The vacuum seal prevents air from getting back into the jar.
To properly can food, one must use:
- Fresh food that has been properly prepared (such as by washing and peeling)
- Clean jars
- Self-sealing lids
- Pressure canning for low-acid foods
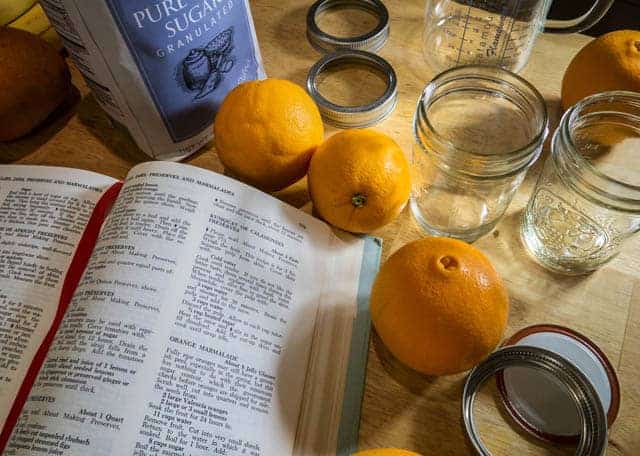
- Acids such as lemon or vinegar for canning certain foods
- Hot-packing for some foods
- The correct temperatures and processing times
Pressure Canning Instructions
You’d be surprised how easy pressure canning is. The instructions vary a bit depending on the pressure canner you have, but are generally as follows:
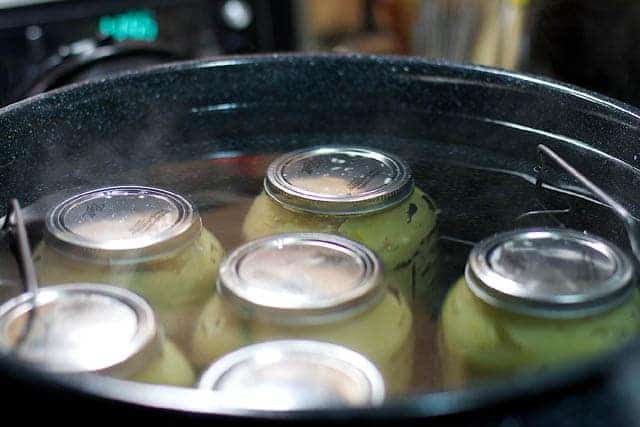
- Put 2-3 inches of hot water in the canner or as the instruction manual directs.
- Put the filled jars on the rack and into the canner.
- Fasten the canner lid.
- Make sure the vent port is open.
- Place the pressure canner on the middle of the stove. Put on the highest setting. Steam will start to come out of the vent. Let it vent for 10 minutes.
- Close the vent port. This will cause pressure inside the canner to increase.
- Start counting the processing time from when the canner reaches the required pressure.
- If the pressure drops at any point, bring the pressure back up and restart the processing time from the beginning.
- When processing time is complete, turn off the heat. Let the canner de-pressurize. Never cool the canner with cold water or other methods.
- Once pressure drops, open the vent port. Wait approximately 10 minutes before removing the lid and removing the jars.
- Allow jars to cool at room temperature for 12-24 hours.
Pressure Canning Tips
Sterilizing Jars and Lids
One of the most tedious parts of home canning is sterilizing the jars and lids. The good news is that you do not have to sterilize jars or lids.
What if a recipe calls for only 5 minutes of processing in a water bath? The best solution is to extend the processing time by 5 minutes (or more at higher elevations).
The longer processing time won’t affect the food but will save you a lot of energy in sterilizing everything.
As for lids, you should never boil them to sterilize. While this was recommended in the past, it is a bad idea with today’s canning lids. Boiling could cause the plastic sealant on the lid to soften and spread out, meaning it won’t seal properly as the jar cools.
Preheating Jars
You don’t need to sterilize jars, but it is recommended that you preheat them.
Preheating does not kill microorganisms; rather, it prevents the jar from shattering when it comes in contact with hot food or canning water.
To preheat the jars, fill them with hot water from the sink for a minute or two. Or, if you have lots of jars, fill a tub with hot water and put all of your jars in it.
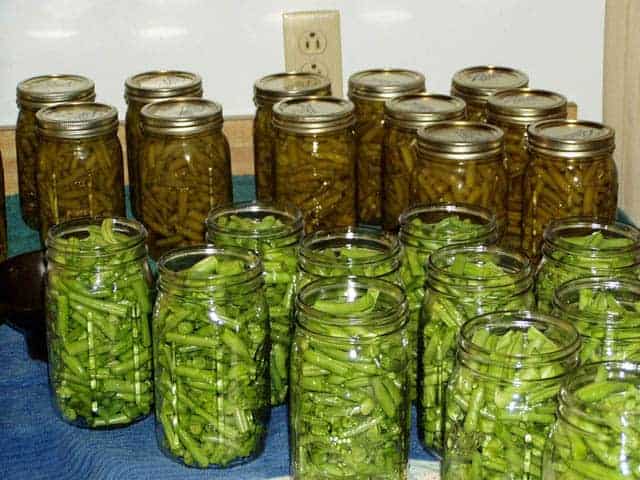
Hot vs. Raw Packing Food
Food can be put in the jar when it is hot or cold (raw packing). Each method has its benefits.
Hot Packing:
With this method, you preheat the food by cooking it in syrup or water. The food is simmered for 2-5 minutes and kept near boiling as it is poured into the jars.
It will be loosely packed in the jar. The hot packing method is preferred as it is better at removing air from the jar. Hot packing also helps pre-shrink foods so more food can fit in a jar.
Raw Packing:
To raw pack foods for canning, the food is packed tightly into jars without heating it first. Then the liquid (such as water, juice, or brine) is added to the jar.
The liquid must be heated to boiling before it is added. Unfortunately, raw packing often means that foods will float to the top, and air will get trapped around them. This will eventually lead to discoloration.
Headspace
The amount of space left at the top of the jar is called headspace. This space is needed because air expands as it is heated. Some foods also expand when heated.
How much headspace to leave varies depending on the type of food, canning method and temperature. As a general rule, leave:
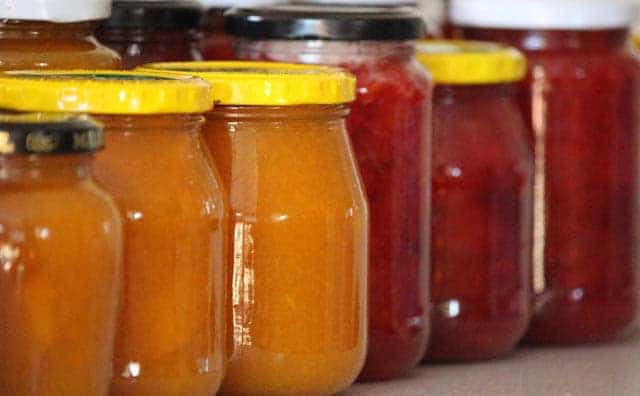
- ¼ inch for jams and jellies
- ½ inch for fruits and tomatoes processed with water bath canning
- 1 to 1 ¼ inches for vegetables and low-acid foods in a pressure canner.
Sweeteners and Salt
Most store-bought canned goods have huge amounts of sweeteners or sodium in them. This help maintain the taste, shape, and texture of the foods – but they are entirely unnecessary.
If you want to can foods without sweeteners or salt, just omit them (or adjust amounts to taste). It won’t alter the processing time or safety of the food.
Temperature, Pressure, and Elevation
At sea level, water boils at 212F. At higher elevations, though, water boils at a lower temperature.
So, if you are at a high elevation, the boiling point might be much lower than at sea level.
You must either increase the processing time or canning pressure to compensate for the lower temperature.
You must get the canning jars to a high temperature to destroy microorganisms like botulism spores. Ensure you choose the correct processing time or pressure for your elevation level.
Botulism
Most of the microorganisms found on food will die during the canning process. Not only does the heat kill them, but they cannot survive in the oxygen-free environment created by canning.
One exception is Clostridium botulinum, the bacteria which causes botulism. Botulism is found in soil and on raw foods.
They are not dangerous if eaten in this way. However, in an oxygen-free environment, they will produce deadly toxins.
Boiling is hot enough to kill the botulism bacteria but not hot enough to kill their toxic spores.
So, any low-acid food needs to be processed with pressure canning. Only pressure canning gets foods hot enough to kill botulism spores.
To kill botulism spores with the water bath method, you’d have to boil the jars for 7-11 hours, which isn’t practical.
To prevent botulism poisoning:
- Peel all root vegetables
- Wash all fresh produce carefully
- Use pressure canning for low-acid foods
- Ensure the canning temperature is at least 240F
- Adjust canning temperature and processing time according to altitude
Testing Lids
When you remove the jars from the canner, the screw band might be a bit loose. This is entirely normal. Do NOT attempt to retighten the screw lid. It can cause the lid seal to break.
Allow the jars to cool for 12-24 hours. Once they are cooled, remove the screw bands and test the lid seal. This can be done by pressing the middle of the lid with your finger. If the lid pops up, then it isn’t sealed properly.
Alternatively, you can hold the jar at eye level and look at the lid. It should be slightly concave so it curves down toward the jar.
Read our guide to reusing canning lids.
Label Everything!
It is very easy to forget what you put in a jar. So, when you are done canning and the jars have cooled, label them with the contents. Also, put the date so you can rotate the food.
Water Bath Canning vs. Pressure Canning
With water bath canning, you fill the jars with food and put a lid on them. Then you put these jars in a very large pot, cover the jars with water, and bring the water to a boil.
The process is simple, and you don’t need any special canner. It can be challenging to find a pot that is large enough, which is why there are special water bath canners you can buy.
The problem with water bath canning is that it can only get up to 212F (the temperature at which water boils). Thus, water bath canning isn’t suitable for low-acid foods that could contain deadly botulism spores.
Botulism spores are only killed at a temperature of at least 240F.
Pressure canners solve this problem.
Pressure canners are big pots with vented lids that can be clamped to create a seal.
To use a pressure canner, you put the jars of food inside with some water. The water is heated to create steam.
Usually, water can only reach temperatures of 212F (100C). However, the water boils at a much higher temperature because of the high pressure inside the canner. For example, at 15 lbs of pressure, water will boil at 250F. This higher temperature makes pressure canning safer as it kills more pathogens.
Safety Warning: Pressure canning is the only safe way to can vegetables, meat, and other low-acid foods.
Oven Canning:
Do not use your oven for canning. The main issue is that ovens cannot reliably get the entire contents of the jars to 240F, which means botulism spores could still survive.
Further, jars can burst if you put them in the oven. This not only makes a mess but is very dangerous!
Inversion Canning:
Inversion canning (sometimes it’s also called “open kettle canning” or “flip canning”) isn’t actually canning.
It would be more appropriate to call it “bottling.” The process involves cooking some jam, salsa, or relish. Then, while the food is still hot, you pour it into a warm, sterilized jar. A lid goes over the jar. Then you flip the jar upside down. The heat from the food causes a vacuum seal to form.
Even though many people will say things like, “But my grandma did this and never had any problems!” inversion canning is not recommended. It simply isn’t possible to create a strong enough seal.
Further, the temperatures used to cook the food usually aren’t hot enough to destroy dangerous microorganisms. Safety issues aside, doing inversion canning doesn’t make sense.
It is a significant pain to sterilize all those jars and lids. With water bath canning, you don’t have to sterilize the jars. So, it’s much less work to boil the full jars of food than to try sterilizing everything for inversion canning.
Equipment for Pressure Canning
In addition to your pressure canner, you will need the following supplies:
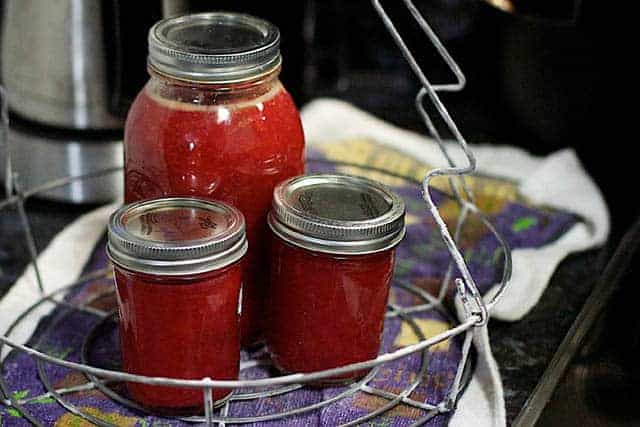
Jars:
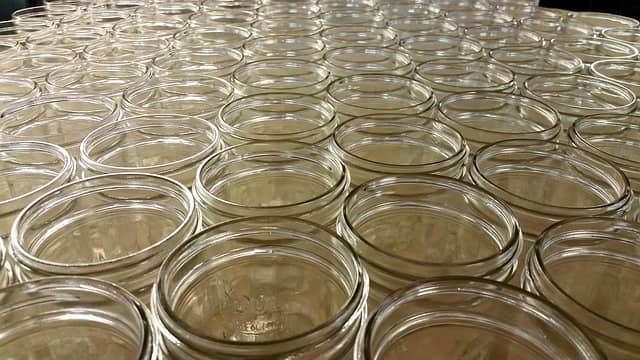
Ideally, you only use Mason jars for canning. These jars are strong, heat-treated, and have lid edges for a good seal.
There is a lot of debate about whether it is okay to reuse jars – such as from spaghetti sauce or mayo – for home canning.
Some experts say that you should never reuse these jars. Because they have narrower sealing surfaces and may not be very strong, you can expect more seal failures and breaking.
On the other hand, many people reuse jars for canning without any issue. This saves them money on buying Mason jars.
However, there is a risk that the jar of food will explode during the canning process – which wastes food and goes against the money-saving argument. If you are going to reuse jars for canning, then accept the risk that comes with them.
Before using a jar for canning, check to make sure that the two-piece lid fits and that the gasket sealer goes all the way to the edges of the jar.
Lids:
Canning lids have two parts: a flat lid with a sealing compound around the rim and a screw band.
The flat lid goes on the jar first. The screw band holds it in place. The screw band can be reused.
The flat lid cannot be reused. It often gets indented and won’t be able to create a strong seal. The sealing compound also gets indented and squished, so it won’t make a seal the second time around.
The screw band doesn’t need to be forcefully tightened when putting on a canning lid. The seal needs to be tight but also have enough give so air can escape.
Note: When removing jars from the canner, never tighten the screw band further. This can break the seal.
Racks:
In canning, racks have three main purposes:
- They elevate the jars off the bottom of the canner. You don’t want your canning jars to be in direct contact with the bottom of the pot, or they could break.
- They hold the jars in place so the water/steam can get around them.
- They make it easier to lower/lift the jars into the water without burning yourself.
Most pressure canners come with racks, so you won’t have to worry about buying one separately.
If you lose your rack, you can easily make your own by tying together some canning screw lids and putting them on the bottom of the canner.
However, these DIY racks will only elevate the jars. They won’t keep jars in place nor help you lower/lift jars.


 Uses And Benefits")

 NSN: 1240-99-984-0230")
