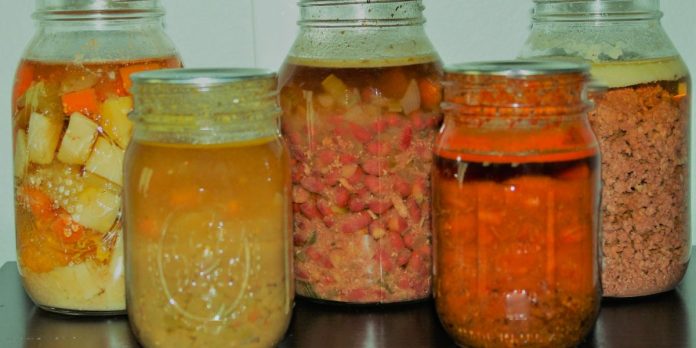
Canning meats should be at the top of your list for survival knowledge because it’s a great way to diversify your food storage.
There are several advantages to canning meats, including reducing your freezer dependency, improving your food quality, and having nutritious ready-to-eat meals at your fingertips.
Hot-Packing and Raw-Packing
While in some cases, you’re limited to one or the other, you usually have two options when canning meats: hot-packing or raw-packing. Each follows a slightly different set of instructions.
Hot-Packing
Hot-packing requires precooked meat, so there’s a little more time and effort involved. Partially cooking your meat prior to canning keeps the pieces separated so they don’t clump together.
Just be sure not to coat any of your meat with flour when precooking because it inhibits safe processing and prevents the heat from destroying botulism spores.
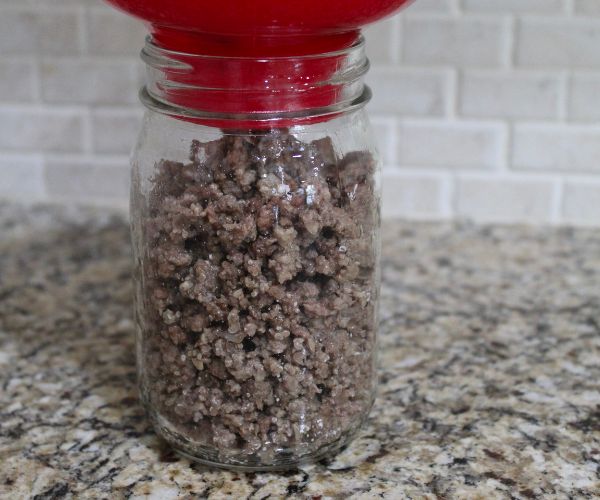
Some foods, like ground meats, clams, and soups should only be hot-packed.
Once your meat is cooked, follow the guidance of the NCHFP or a tested recipe for processing. Unfortunately, there’s no one-size-fits-all recipe for canning meats. Each is different depending on what you’re canning.
However, in all cases of hot-packing, you’ll need to ladle water, tomato juice, or broth over your meat and fill the jar to the desired headspace.
Raw-Packing
With raw-packing, there’s no need to heat anything. Just drop your raw meat into warm jars and lightly pack to remove any air. In most cases, you won’t even add water because the meats will produce their own juices as they cook.
Some meats, like salmon, can only be canned raw.
Raw-packing is much easier and quicker than hot-packing, but there are a few disadvantages:
- Excess fats float to the top of the jar and can interfere with proper sealing. These fats also go rancid over time, so it’s best to use low-fat, lean-cut meats.
- The texture and consistency of raw-packed meat are slightly different than with hot-packing. You often end up with one big blob of meat, which can look unappealing.
- The volume of your meat decreases with processing, leaving you with less food in your jars when compared with hot-packing.
Materials for Pressure Canning Meats
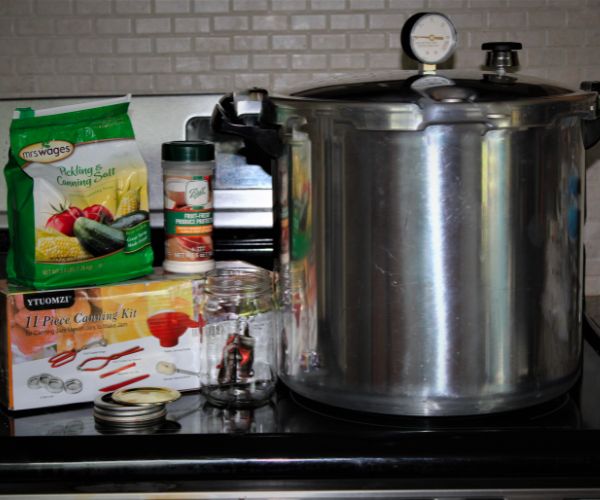
Pressure canning meats is much the same as canning other low-acidic foods. You’ll need the following items for each canning session:
For some recipes:
Preparing Meats for Canning
With all meats, remove any excess fat, skin, silver skin, or gristle. In most cases, it’s okay to process meat with or without bones. Exceptions include venison due to chronic wasting disease.
It’s recommended all ground meats be precooked and hot-packed either loose, in patties, or as meatballs, though not all home canners follow this guidance. Sausage links should also be precooked.
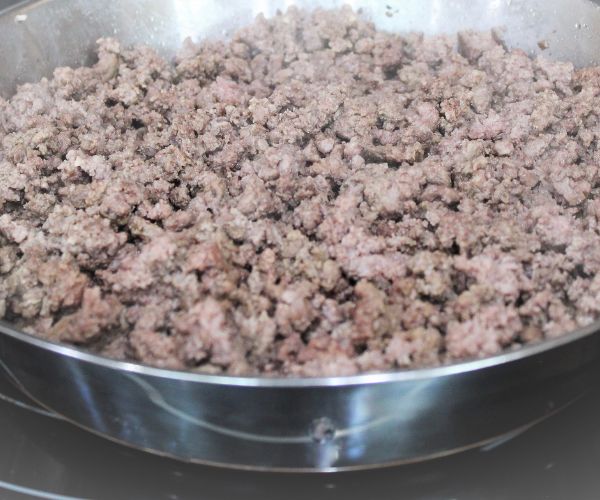
Drain excess fats before placing food in jars because they tend to interfere with the hermetic seals.
These non-ground meats can be hot- or raw-packed:
- Bear
- Beef
- Chicken
- Duck
- Goose
- Lamb
- Pork
- Poultry
- Tuna
- Turkey
- Rabbit
- Veal
Ground, Stripped, Cubed, or Chunked meats
Meats for hot-packing should only be cooked to rare by roasting, stewing, or browning in a small amount of oil. For best quality, season meats before filling jars, but this isn’t required.
Do not coat meats with thickening agents like flour or cornstarch because they inhibit the overall process.
Cover precooked meats with broth, water, or tomato juice, leaving one inch of headspace.
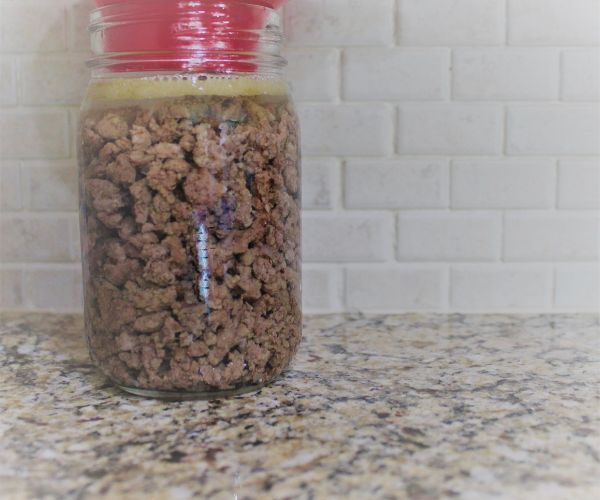
Conversely, raw meats should be loosely packed in warm jars with no added liquid.
For both raw and hot packs, pints should be processed for 1 hour 15 minutes and quarts for 1 hour 30 minutes.
Poultry
If you’ve hunted or raised your poultry, be sure to chill dressed meat for at least 6–12 hours before canning, with or without bones.
For hot-packed poultry, cut meat into bite-size pieces and precook by baking, boiling, or steaming. Season to taste while cooking, and drain any excess fat. Then pack the meat into jars and cover with water or broth, leaving 1 ¼” headspace.
Raw poultry should be packed in hot jars and sealed with no liquid, leaving 1 ¼” headspace.
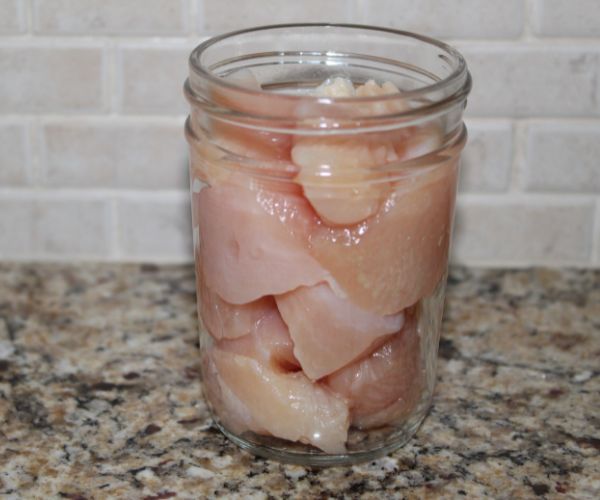
Process pints for 1 hour 5 minutes with bones and 1 hour 15 minutes without bones. Process quarts for 1 hour 15 minutes with bones and 1 hour 30 minutes without.
Wild Game
Pressure canning wild game offers several advantages. Not only does it help remove the gamey flavor, but it also helps tenderize tough cuts. Hot-packing with broth or tomato sauce works best for eliminating any pungent flavors.
Take extra precautions when canning wild game. Make sure it is properly cleaned and dressed. Also, discard any sections of meat that have bruising or tumors.
Soak game meat for one hour in a saltwater brine consisting of 1 tablespoon of salt for every 1 quart of water, and thoroughly rinse before placing in jars.
Larger game is typically processed like beef, while smaller game is processed like poultry. For small game like quail or rabbit, there’s no need to debone.
How to Pressure Can Meats
- Prepare meat according to the directions above.
- Gather equipment and prep canner.
- Fill jars according to recipe directions.
- Wipe rims clean and secure lids.
- Vent and build pressure.
- Process meats according to their required times.
- Cool jars.
- Prepare canned meats for storage.
Preparing Your Canner
Because meats are low-acidic foods, the only safe way to can them is using a pressurized canner. Make sure you’re using an actual canner and not a pressure cooker.
You can use either a weighted gauge or a dial gauge, although they differ slightly. Consult the owner’s manual for proper setup and operation.
In most cases, you’ll add a certain amount of water to the bottom of your canner with a few tablespoons of vinegar to prevent water stains. When canning fish, many canners also add lemon juice to offset the fishy smell.
Place a canning rack in the bottom so your jars don’t break, and begin heating your water to just under boiling.
Prepare Your Jars
Thoroughly inspect jars, lids, and rings for any discrepancies. Fill your jars according to the instructions above. Use a headspace tool to scrape around the inside of the jar to remove any air bubbles.
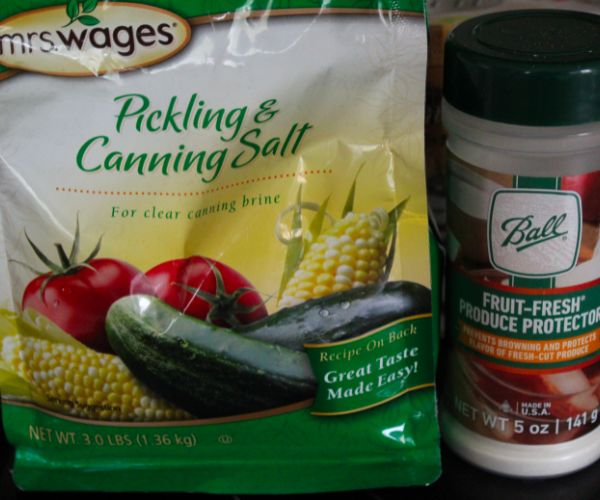
Optionally, add ½ tsp of salt for flavor. Canning salt or kosher salt is best because iodized salt gives your jars a cloudy appearance. However, it is not uncommon for people to use regular table salt anyway.
With a moist cloth dipped in vinegar, ensure the rims of your jar are clean from any debris. Secure your lids snugly but not too tight, and place your jars in the canner. Place and lock the canner lid in place.
Vent Canner and Process Meats
Exhaust a steady flow of air from your canner for 10 minutes, and then place your pressure regulator or weight onto the vent pipe.
Let your canner gradually build pressure until it reaches the desired pounds per square inch indicated in your canning recipe. Maintain that pressure throughout the entire processing time. You may occasionally need to adjust the heat to maintain the correct pressure.
If pressure drops below the recipe requirement, reset your processing countdown. After processing, turn off your stove, slide the canner off the burner, and allow your pressure gauge to reach zero before opening your canner.
The Waiting Game
Once your canner has cooled, carefully remove your jars and place them out of the way for 24 hours. Since the jars aren’t sealed yet, don’t handle them too much.
After they’ve cooled, remove the bands and check for proper seals.
For any jars that didn’t seal, you can reprocess them or freeze them within 24 hours.
Otherwise, place them in the refrigerator, where they will keep for two to three days.
Prepare for Storage
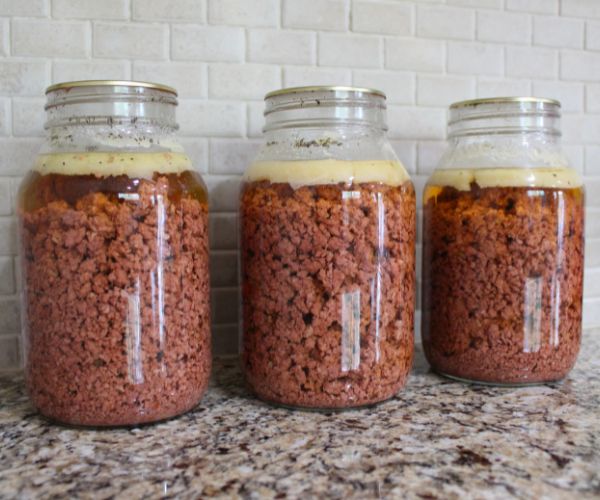
Wash any food residue off the jars and place them in a cool, dry storage area.
As a safety precaution, never store your jars with the bands on or stack them on top of each other. In the event of a false seal, gases will build up and reveal visual evidence that your jars didn’t seal properly. Leaving rings on or stacking your jars inhibits these visual signs.
What Meats Can You Pressure Can?
Canning meats opens up a whole new world of food storage options, especially if you enjoy fishing and hunting. While you can’t preserve all meats, you might be surprised by what you can preserve:
- Beef
- Fish (some)
- Game birds
- Lamb
- Pork
- Poultry
- Rabbit
- Sausage links
- Seafood
- Tuna
- Venison
It’s always best to operate under the guidelines of a tested recipe because not all meats can be preserved in a jar. Even still, there are a variety of broths and full heat-and-serve recipes that give you a tremendous amount of variety:
- BBQ
- Broths & stocks
- Chili
- Chowders
- Meat/bean combos
- Mincemeat pies
- Pasta sauces
- Soups
- Stews
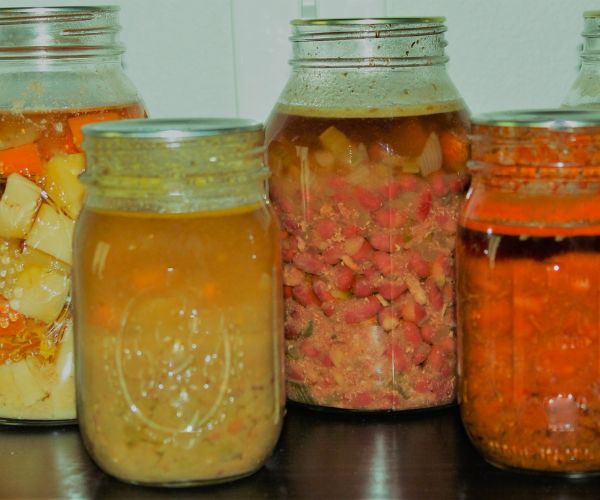
Canning your own meats, especially those you caught, hunted, or raised, ensures you know exactly what you’re eating. It also allows you to take full advantage of sales or bulk discounts (like buying whole sides of beef) even when you don’t have a lot of freezer space.
How Long Will Your Canned Meats Last
You should consume your home canned food within 12–18 months, but there’s no exact expiration date.
Elizabeth Andres with the NCHFP and University of Georgia Extension states (1:27:00),
“Theoretically, if the food was processed safely and stored properly and shows no sign of spoilage, until that vacuum seal is broken, there should be no way that it’s further contaminated or becomes unsafe.”
However, like all foods, they will lose their nutritional value and vitamin content over time.

