
Deer season is the best season.
This magical time of year brings out chef-level creativity in hunters hoping to hone their cooking skills, but many are wary of dehydrating their venison. This isn’t so surprising—making deer jerky is daunting if you’ve never done it before.
Luckily, I’m here to help break the process down into bite-sized chunks. Follow the directions below for a complete guide to making venison jerky at home, including a customizable marinade recipe for a mouth-watering dose of smoky heat.
Materials to Make Deer Jerky
Making jerky is one of the easiest ways to preserve meat, but it isn’t the fastest. You’ll probably need at least two days to complete the process. Most of that time is hands-off, but prep can get messy. There are a few things you’ll need to start with:
- Venison: You need deer to make deer jerky, and you may need more than you think. Dehydrating meat can reduce its weight by over 50%, so I recommend starting with at least a pound. Always use super-lean cuts to make jerky since fat doesn’t dehydrate well. I’m partial to neck meat, though flank and leg are also popular choices.
- Dehydrator: You can use any dehydrator that’s rated for making jerky. I use the Nesco Snackmaster Encore and find it quite reliable and easy to work with. If you don’t have a dehydrator, you can use an oven.
- Marinade: You’ll need a marinade to tenderize your deer jerky and add flavor. You can use my recipe below or create a concoction to fit your tastes.
- Knife: Use a paring knife to trim the meat and a butcher knife to slice it. Keep in mind that it’s hard to achieve the ultra-thin cuts you need for a good jerky. A dull blade won’t do the job, so sharpen your knife well before you begin.
- Paper towels: Towels are a must. I prefer single-use paper napkins because I’m not into washing blood and hair from towels, but more sustainable households can use dish towels.
- Storage containers: Sealable airtight containers are a must for proper storage. You can use Ziploc bags or Tupperware, but Mylar bags with oxygen absorbers will preserve dry goods the longest.
Smoky Chipotle Marinade Recipe
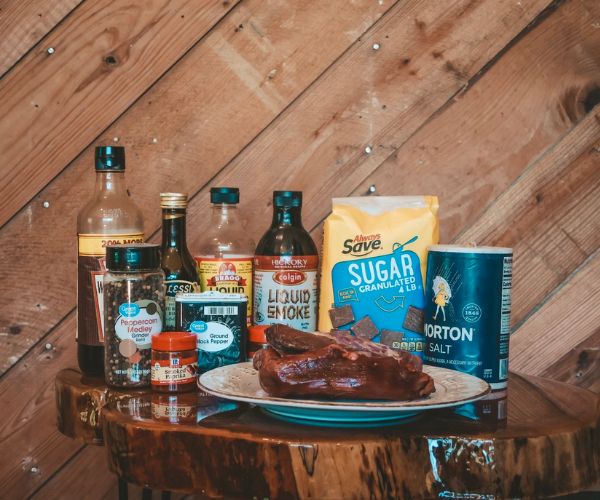
I love this marinade! It adds a powerful smoky flavor cut with sugary sweetness and just the right amount of tangy spice. The following recipe is good for one or two pounds of meat, but you can easily double it for more jerky. Here’s what you’ll need:
- ½ cup liquid aminos
- 2 tbsp. Worcestershire sauce
- 2 tbsp. liquid smoke
- 1 tbsp. balsamic vinegar
- 1 tbsp. mustard
- 1 tsp. ground black pepper
- 1 tsp whole peppercorns
- 1 tsp. smoked paprika
- ½ tsp. chipotle powder
- 4 tbsp. sugar
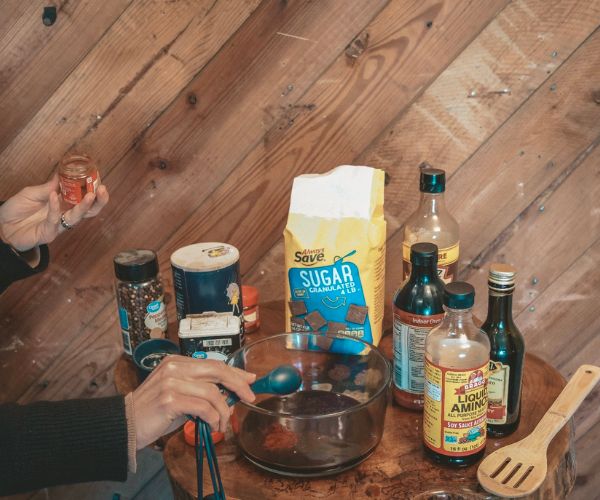
Mix your marinade only when you’re ready to begin the jerky-making process. Combine all the ingredients in a large bowl and whisk well, ensuring the sugar has dissolved fully. Store your marinade in the refrigerator until you’re ready to add the meat.
The venison doesn’t have to be swimming in the marinade for a good flavor. If the liquid doesn’t fully cover the meat, that’s okay. You can add two or three tablespoons of water to stretch it or simply stir it up manually every few hours. In the end, you’ll have some marinade liquid left over. Don’t use it on a second batch of jerky because it will taste terrible and could cause pathogen transfer.
Note that you can add, subtract, and play around with ingredient ratios to fit your tastes. Creating your own jerky marinade is easy and fun, but it’s different from a basic marinade of spices, salt, acid, and oil.
You don’t need the oil here since it can shorten jerky’s shelf life, so add it only if you plan to eat all your jerky immediately.
How to Make Deer Jerky
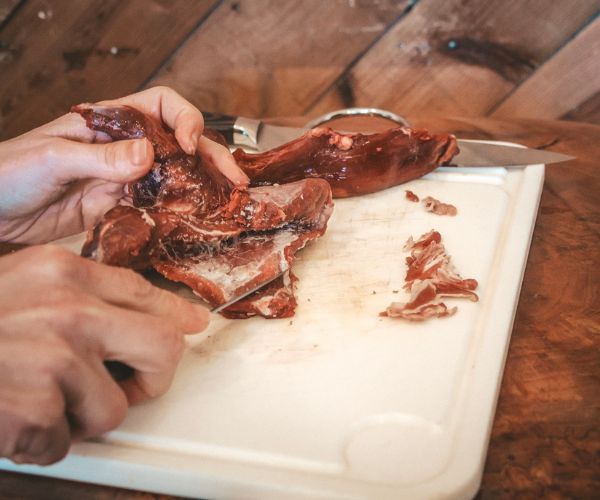
1. Trim the Meat
Trimming the meat is an essential first step. You want to remove any hair, tendons, fat caps, and pesky silverskin hanging on to the muscle. Tendons and silverskin aren’t edible. They may cause the meat to curl during dehydration, and their texture will ruin the quality of the final product.
Fat is edible and may make jerky taste better, but it causes dried meat to spoil quickly. Especially if you plan on long-term storage, proper trimming is vital.
2. Freeze the Meat
You don’t have to freeze the meat, but I highly recommend it. Wild game like deer often carries trichinella parasites, which can make you very sick. You can kill the parasites by freezing the meat for at least 30 days.
For most people, freezing isn’t an issue. If you’ve bagged a big one, you have lots of meat and will likely freeze at least a portion of it anyway, so just wait a month or two after harvest.
If you don’t have a freezer, you should begin making your jerky as soon as possible after you butcher and trim the meat to safeguard yourself against contamination.
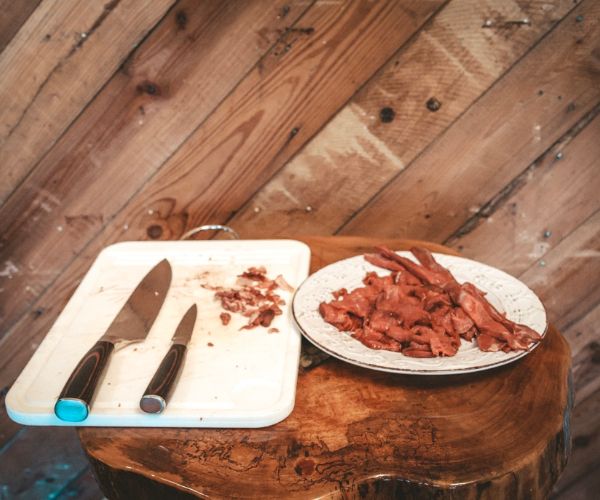
3. Slice the Meat
Take the venison out of the freezer and let it defrost slightly, but not entirely. Partially frozen meat is harder than defrosted meat. The firmness makes it much easier to slice, especially in very thin strips like we want for jerky.
How thin should you go? That depends on your personal preference. I like to slice mine ¼-inch thick, though some prefer thinner or thicker slices. If you cut it much thicker, it will take forever to dehydrate and may never dry thoroughly.
There’s also the issue of direction. Slicing with the grain provides a chewier, tougher jerky. It will also let you trim away any intramuscular fat you find inside the meat. Cutting against the grain will sever the muscle fibers, making jerky much more tender. I like it both ways, but many people have stronger preferences.
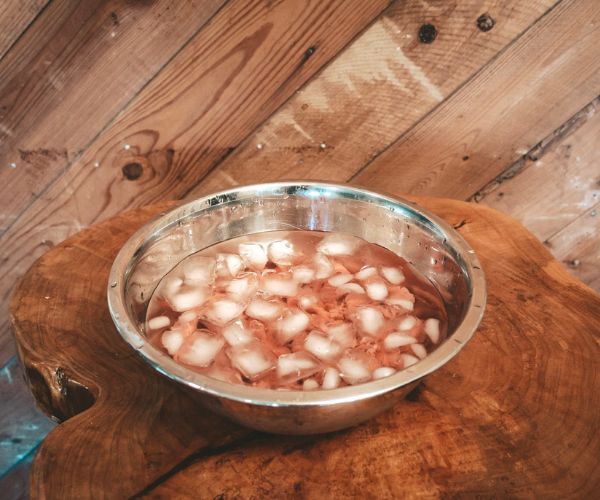
4. Shock the Meat
Don’t worry—shocking doesn’t require electricity. Simply fill a bowl with water and ice, then put your pre-cut meat inside. Leave it for five or ten minutes to soak in the water. Shocking is an optional step, but I wouldn’t recommend skipping it.
Soaking meat in cold water draws excess blood from the flesh. Even if you dressed and drained your kill perfectly, there’s still a lot of blood in the muscle. Deer blood gives venison its gamey flavor, which gets much more concentrated as the meat is dried.
Even if you like a bit of gaminess, it can get very overwhelming in fully dehydrated meat. Shocking the meat reduces that gamey flavor and allows your marinade to shine through.
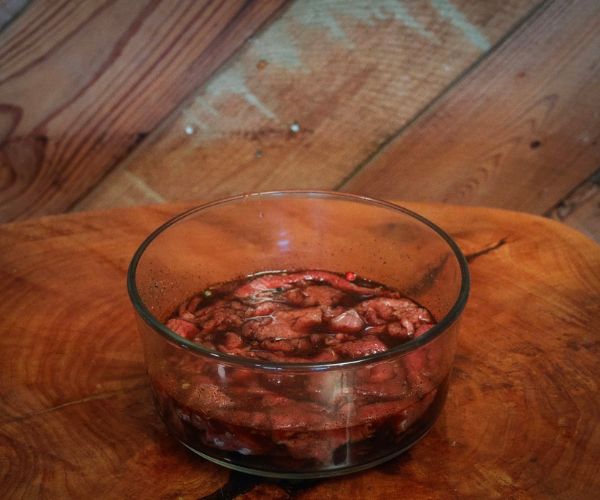
5. Marinate the Meat
After you shock it, take the sliced meat from the ice bath and put it in the marinade. Cover the dish with tin foil, then leave it to marinate in the fridge overnight. It should sit in the marinade for at least 12 but no more than 24 hours. Why is timing so important here?
The marinade adds flavor and tenderizes the meat by breaking down its muscle fiber. Since venison is so tough already, this is a vital step—jerky that hasn’t been marinated for long enough feels and tastes like the sole of an old shoe.
On the other hand, over-marinating meat will actually break down too much muscle fiber, causing it to go mushy.
6. Drain the Marinade
Besides tenderizing and flavoring, marinade also adds moisture. This is unfortunate because nobody wants moist jerky. It would go rancid quickly and defeat the whole purpose, so drain the marinade and pat the venison slices dry with a paper towel.
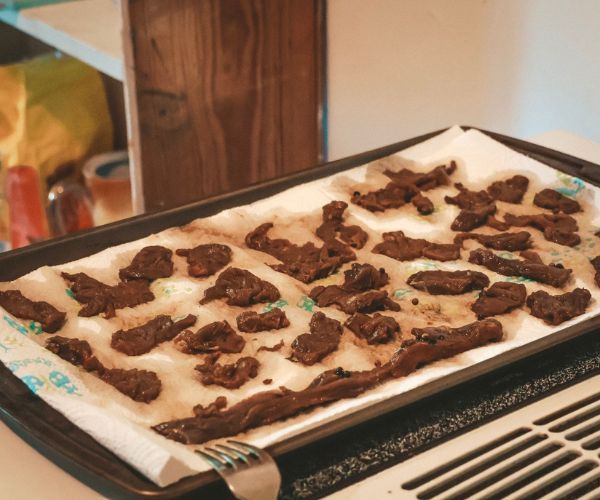
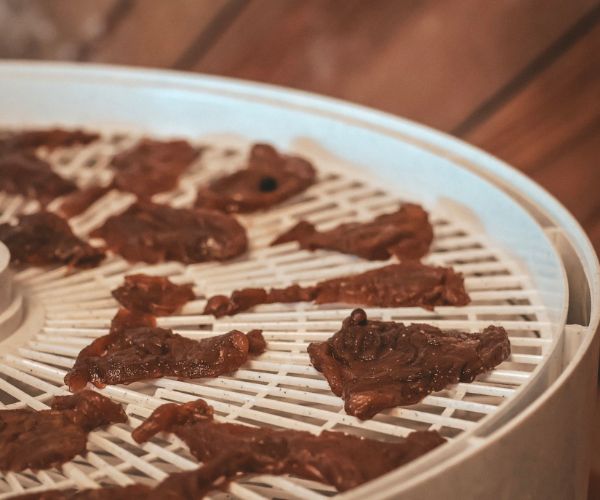
7. Dehydrate the Meat
Arrange the sliced venison on the racks of your dehydrator, making sure to space the pieces apart. You should consult the owner’s manual to determine how long your venison should remain in the dehydrator. Different units usually come with specific instructions for various food items.
Of course, some rules apply across the board. Thicker venison slices will take longer to dry, and thinner ones will be done more quickly. If you don’t have an owner’s manual, it’s a good idea to leave your jerky in for at least four hours, then check on it periodically.
Unfortunately, not every dehydrator can bring meat to safe temperatures. Generally speaking, if your dehydrator goes up to at least 160 degrees, it should be safe to use for venison jerky. If it doesn’t reach those temperatures (or you don’t have a dehydrator), you’ll need to use the oven.
8. Check Your Progress
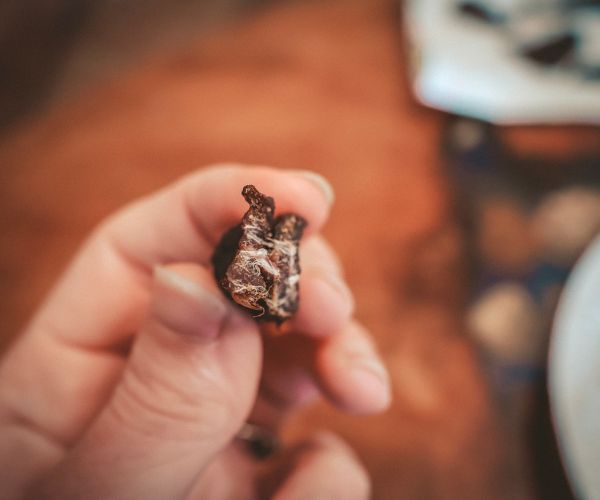
Check your progress after four hours by examining a single piece of jerky. Fully dehydrated meat should be stiff and dry yet pliable enough to bend slightly. When you bend it further, it should snap in half. You’ll see small, thin, white strips of dried sinew running through the interior.
If your piece feels wet, springy, or doesn’t break in half, put it back. If you’re reasonably convinced it’s done, go ahead and take a bite. People prefer jerky to varying degrees of dryness, and if it tastes perfect as-is, you can stop the process. If you want it drier, just add more time.
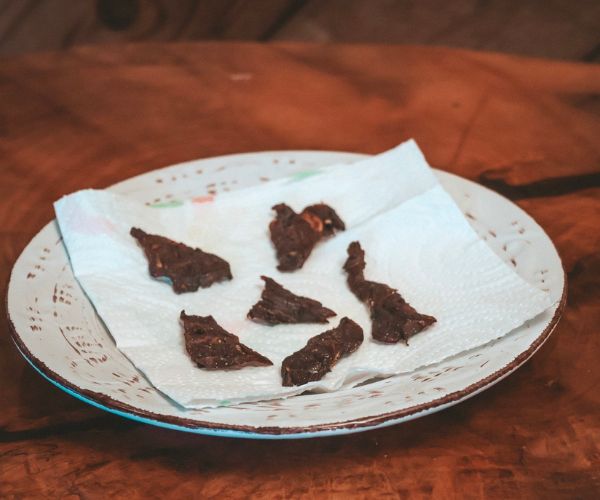
9. Remove the Jerky
Once it’s dehydrated, take the jerky out and set it to rest on a paper towel to cool. Even thoroughly dried jerky may still have a bit of grease on it, and the towel will absorb any extra moisture that might be present.
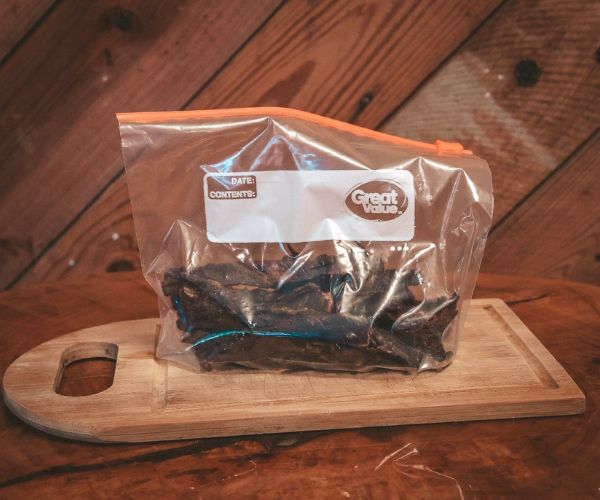
10. Store and Enjoy
At my house, jerky never lasts long enough to actually go rancid, but I’ve heard it can happen. Store your jerky in an airtight bag or a sealed container to lock in flavor and prevent it from going bad too quickly. It should last for several weeks at room temperature.
If you have space in the fridge, storing it there will extend the shelf-life to around four months. Those who want to keep jerky good indefinitely should freeze it.
Read more about how to store jerky long term
How to Make Venison Jerky in the Oven
No dehydrator? No problem. To make venison jerky in the oven, arrange the pieces on oven-safe racks and place a sheet pan beneath them to catch the drippings.
Then, set your oven to the lowest possible temperature (usually around 170 degrees) and put the meat inside. Check it for doneness after four hours, leaving it in longer as needed.
Remember, dehydrating is the process of removing moisture. If you have a convection oven, moisture will escape automatically as air is blown out and recirculated through your unit.
If you don’t have a vented convection oven, crack open the door to allow air to escape. This will increase drying time, but it is necessary to make a genuinely dehydrated jerky instead of baked deer meat.
Feeling hungry yet? I can’t blame you. With deer jerky, you can preserve your seasonal meat and have delicious snacks all year long. Now that you know how to make venison jerky like a boss, it’s time to get that meat out and start cooking!


 Uses And Benefits")

 NSN: 1240-99-984-0230")
